 |
ACRi -- Analytic & Computational Research, Inc.
|
45) When run will be completed it will ask to save the files as shown in fig 4.8. Click "Yes".
46) Once the Run finished. Go to options available on tool bar for the post processing (see fig 4.9)
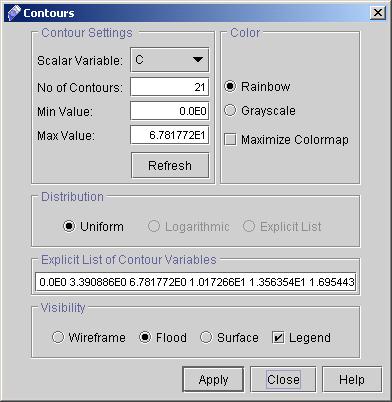
47) Click "Contours" (if it is already checked then click two times. First time it will be unchecked then in second time will be checked again) and uncheck Grid. A dialog window will appear. (See fig 5.0).
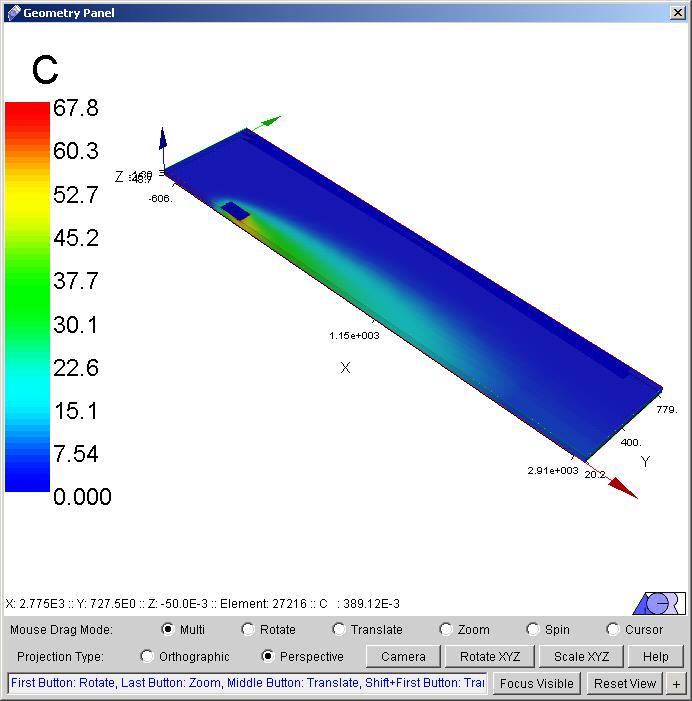
48) Check "Flood" and "Legend" and Click "Apply" and then Close the this dialog by clicking "Close" button. The resulting contours plot of C is shown in fig 5.1
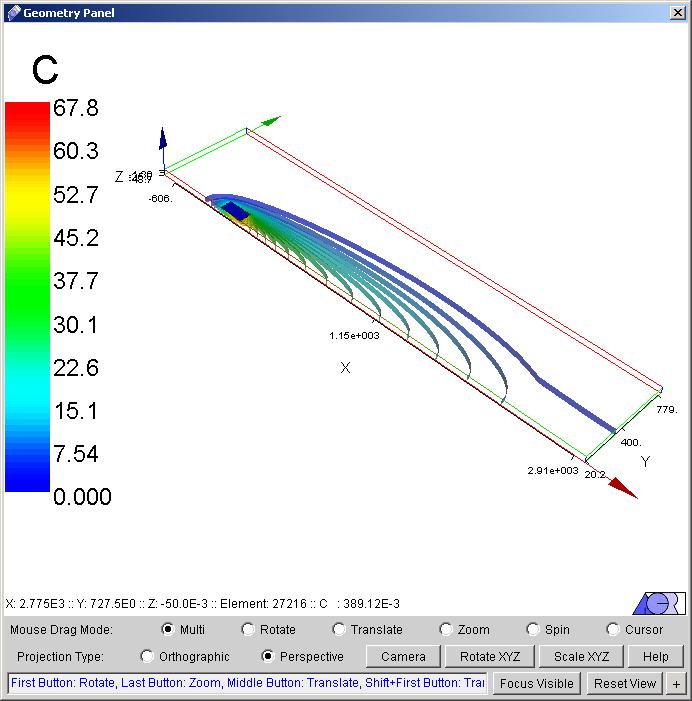
49) Now we will see the surface contours of the variable C by again clicking Contours on tool bar. The same dialog window as shown in fig 5.0 appears. Click on Surface under Visibility option and click "Apply". Close the dialog once again by clicking "Close" button. The resulting plot is shown in fig 5.2
# Back to CFDStudio/PORFLOW Tutorials Page
Related Links:
# PORFLOW Applications |


