
 |
ACRi -- Analytic & Computational Research, Inc.
|
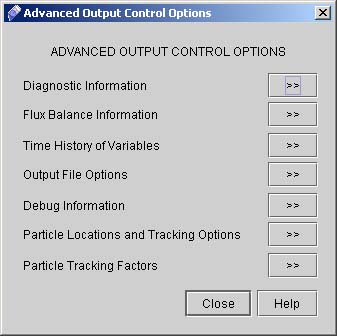
41) Now Click "Advanced" button to go to Advanced Output Control Options. A dialog window appears (see Fig 3.3)
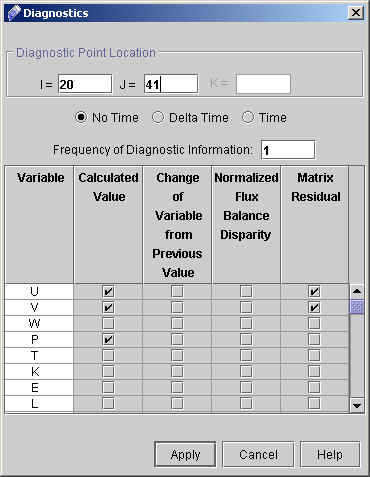
42) Click "Diagnostic Information >>" to specify the diagnostic point at I=20 and J=41 43) Select all other option as shown in fig 3.4.
44) Click "Apply". 45) Click "Close" to close the Advanced output control options window. 46) Manually type the following command in the commands file window:
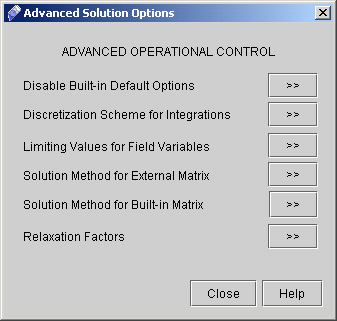
47) Now click "Advanced" options under "Operational Control". A dialog window appears (See fig 3.5)
# Back to CFDStudio/ANSWER Tutorials Page
Related Links:
# ANSWER Applications |