
 |
ACRi -- Analytic & Computational Research, Inc.
|
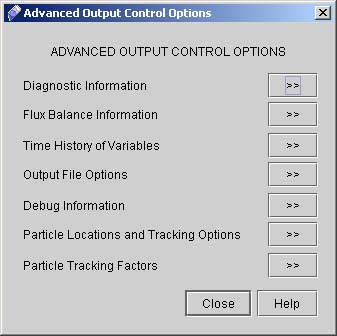
42) Now Click "Advanced" button to go to Advanced Output Control Options. A dialog window appears (see Fig 3.5)
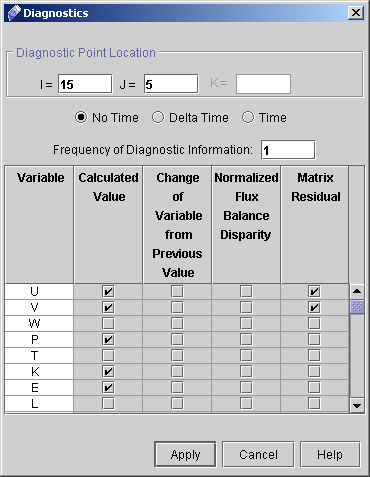
43) Click "Diagnostic Information >>" to specify the diagnostic point at I=15 and J=5 44) Select all other option as shown in fig 3.6.
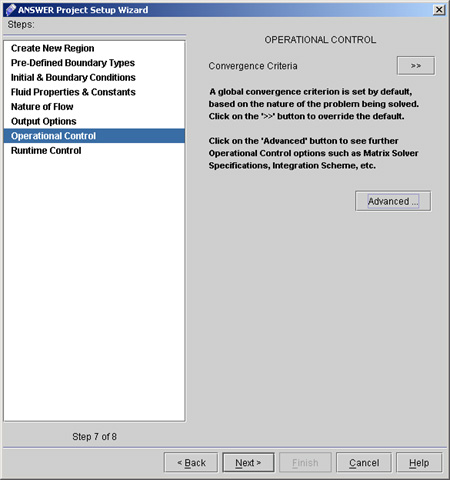
45) Click "Apply". 46) Click "Close" to close the Advanced output control options window. 47) Click "Next >" to got to "Operational Control" dialog Window. (see fig 3.7)
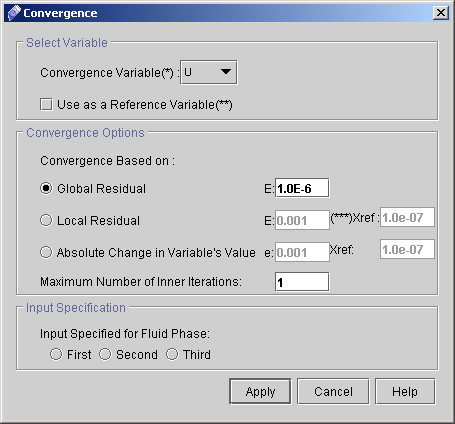
48) Click "Convergence Criteria >>". A dialog window appears as shown in fig 3.8.
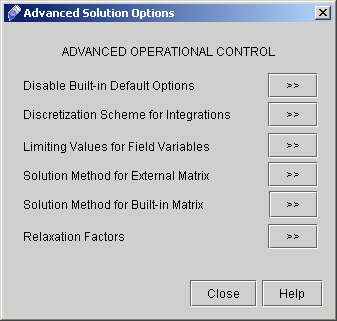
49) Now click "Advanced". A dialog window appears (See fig 3.9)
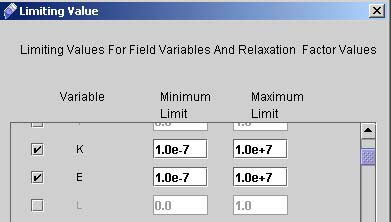
50) Go to "Limiting Values for Field Variables >>" and activate K and E by checking the corresponding checkboxes, then enter the values shown in Fig.4.0. Click Apply.
# Back to CFDStudio/ANSWER Tutorials Page
Related Links:
# ANSWER Applications |