 |
ACRi -- Analytic & Computational Research, Inc.
|
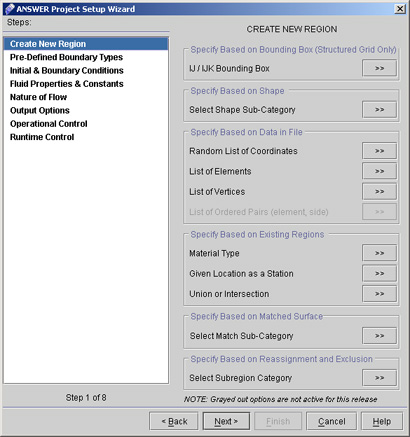
9) Choose the options on "Answer Problem Setup Wizard" as shown in fig. 1.6. 10) Click on "Apply" button. 11) A dialog window appears. This will guide us to set up the problem step by step. 12) We will create the new region within the flow domain. We can create a region either specifying the vertices or coordinates of the region. All ACRi software, including ANSWER™ allows names of length upto 8 characters starting with a letter and consisting of alphanumeric characters. 13) Click "Create new region" (see fig 1.7)
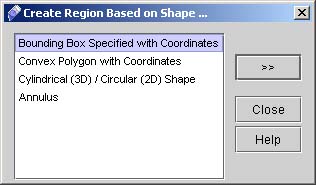
14) Click "Select Shape Sub-Category". A dialog window will appear (see Fig 1.8). Let the default highlighted option "Bounding Box Specified with Coordinates".
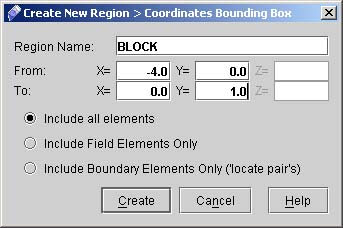
15) Click on the button ">>". This will bring up a child dialog box in which you can specify the minimum and maximum in X and Y directions. Enter the values as shown in Fig.1.9.
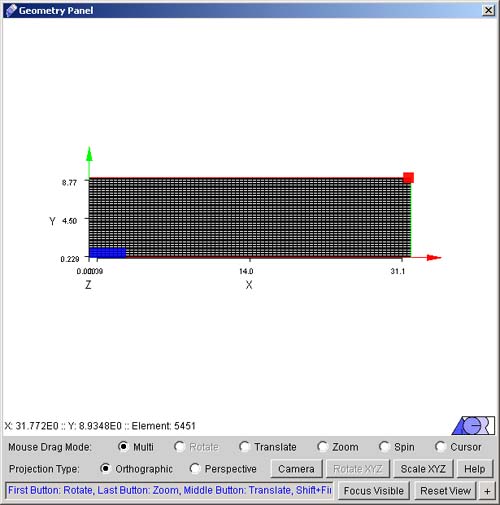
16) Click on CREATE. The corresponding region will be selected automatically. (See Fig. 2.0)
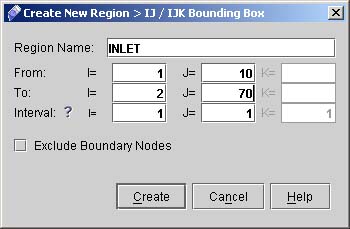
17) To create the inlet region which goes from (1,10) to (2,70), click "IJ/IJK Bounding Box >>" on Create New region dialog window and fill in the values as seen in Fig.2.1.
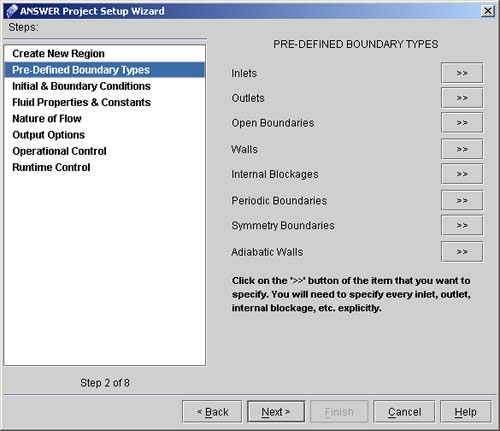
18) Click "Next" go to "Pre-defined Boundary Types" dialog window (see Fig 2.2). Here we will define the boundary types.
# Back to CFDStudio/ANSWER Tutorials Page
Related Links:
# ANSWER Applications |


