|
 1
2
3
4
5
6
7
8
9
1
2
3
4
5
6
7
8
9

36) After that Select Output options from Porflow Project Setup Wizard as shown in Fig 4.8abelow.
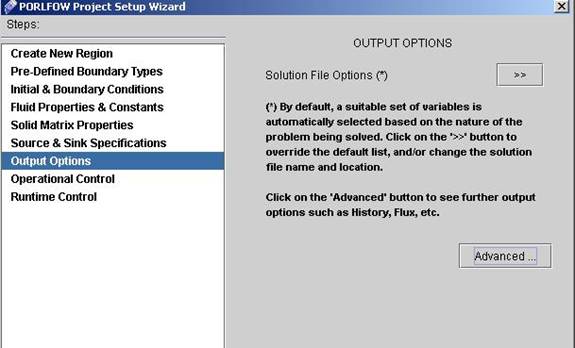
Fig - 4.8a: Output Options
37) Click on Advanced Properties to get Advanced Output Options as shown in Fig 4.8b below.
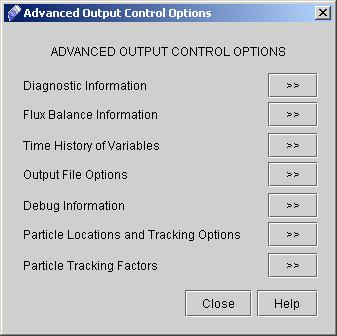
Fig - 4.8b: Advanced Output Options
38) Click on Diagnostic Information. We will specify the diagnostic value as:
- Enter Element Number as 1.
- Select No Time from Time Options.
- Enter Frequency of Diagnostic Information as 10.
- In the Variable List Select S from Calculated Value Column and P and P2 from Normalized Flux Balance Disparity. (Note Selected P is not visible in the Fig 4.9 but select P also). After entering the values the Diagnostics Dialog will look like as shown in Fig 4.9.
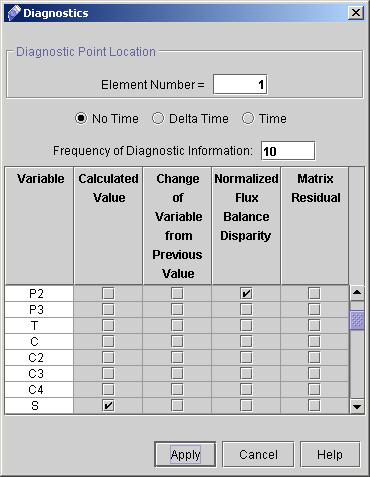
Fig - 4.9 Diagnostics Information
Click Apply when finished.
Note that we have not specified any variables for diagnostic output, which points the solver to the default, as explained in the PORFLOW™ Manual: "The default diagnostic output depends on the equations being solved and the nature of the problem. For transient problems, time is always printed as the first value. Then up to 8 (for transient) or 9 (for steady state) other diagnostic indicators are selected. The order of selection is: values of the active field variables, flux balances and matrix residue for the variables for which the governing equations are solved."
39) Now Click on Time History of Variables. Enter the value for Time History as follows
- Click on Enter Locations for Time History Button. A Option Dialog will appear prompting for Enter Number of Elements Enter 4 as Number of Elements and click Ok. Next Enter 4 elements as shown in Fig 5.0.
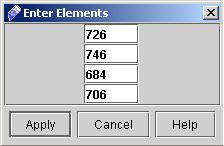
Fig - 5.0: Locations for Time History Output
- Select P, P2, S, S2 variables from variable List. (Press ctrl to select variables from arbitrary locations).
- Check Plot as well Check Box.
- Enter 10 as Print Frequency in Number of Steps as shown in Fig 5.1 below:
Fig - 5.1: Time History Location Dialog
- Click Apply when finished. This finishes the Output Options.
40) Now Select Operational Control Options from Porflow Project Setup Wizard as shown in Fig 5.2 below:
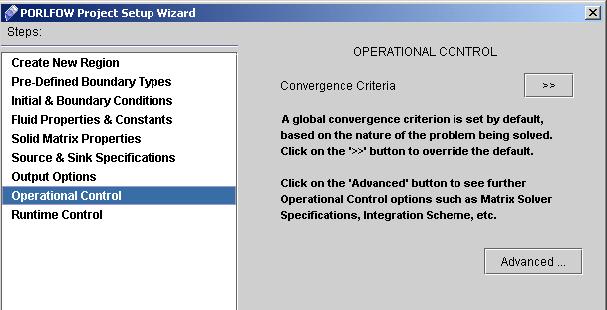
Fig - 5.2: Operational Control Options
1
2
3
4
5
6
7
8
9
# Back to CFDStudio/PORFLOW Tutorials Page
Related Links:
# PORFLOW Applications
# PORFLOW Express
# PORFLOW Publications
# PORFLOW Users
# PORFLOW Price List
# Request CFDStudio/PORFLOW Demo
# CFDStudio/PORFLOW Tutorials
# PORFLOW Manual
# PORFLOW Validation Report
|