|
 1
2
3
4
5
1
2
3
4
5

45) Go to Menu option Run >> Run Project (fig 3.5)
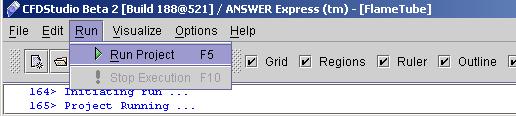
Fig - 3.5: Run Menu
It will start a Runtime console window as shown in fig 3.6
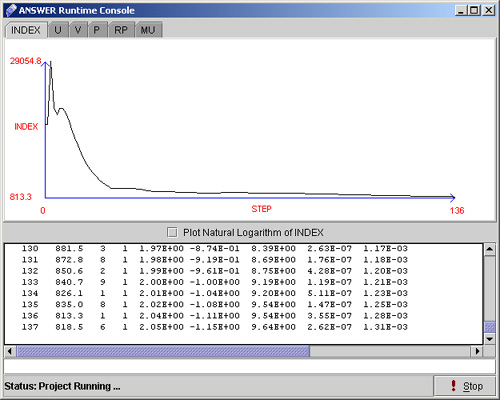
Fig - 3.6: Runtime Console.
Please note that a Stop button is provided in case it is a long run and the solution tends to diverge. Taking a look at the solution graph, one can easily see the trend of the index with increasing steps.
46) When run is completed it will ask if you want to discard the runtime window and load the solution file to postprocess, as shown in fig 3.7. Click "Yes".
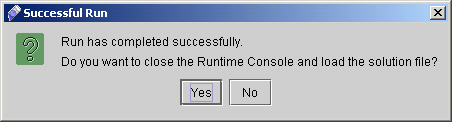
Fig - 3.7: Successful Run
47) Once the run is finished. Go to option available on tool bar. as shown in fig 3.8

Fig - 3.8: Tool bar
Here we will create some slices to visualize our results.
48) Uncheck Grid option and click on contours. A dialog window appears. Select the Flood type of contours of U and then click "Apply".
49) Now Click "Slices" option available on tool bar. A dialog window appears as shown in fig. 4.0.
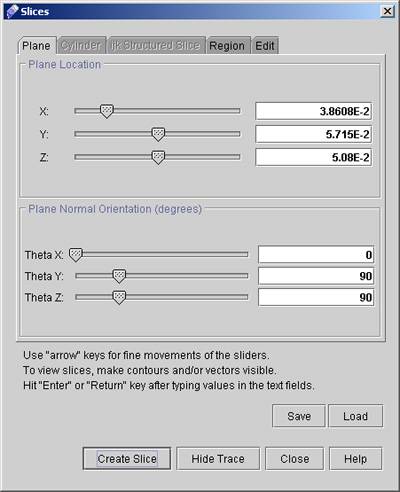
Fig - 4.0: Slices dialog window
- Select "Plane" option from menu of Slices dialog window.
- Set plane location at 3.86E-02, 5.716E-02 and 5.08E-02 in X,Y and Z direction respectively.
- Now set Plane Normal orientation (in degree) as 0, 90, and 90 in Theta X, Theta Y and Theta Z direction.
- Click "Create Slice".
- Click "Close" option available on Slices dialog window to close the dialog.
- Check "Legend" option on main tool bar.
50) The resulting slice is shown in fig 4.1
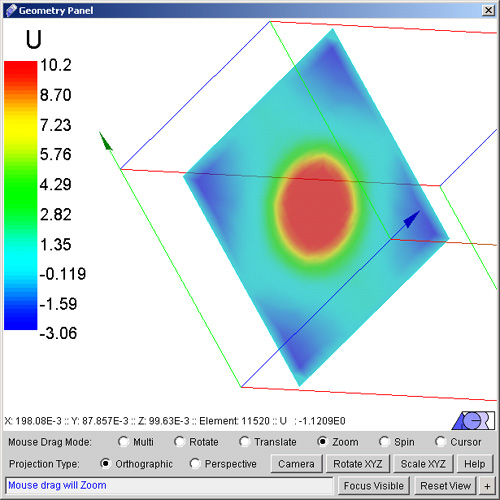
Fig - 4.1: Created Slice
51) To create another slice we will repeat above step. Everything will be remain same as above except:
- Change plane location in X direction only to 2.032E-01.
- Under Plane Normal Orientation (in degrees) option change Theta X to 90 and Theta Y to 0. Theta Z will remain same as for the first slice.
- Click "Create Slice".
- Go to "Edit" option on Slices dialog window and uncheck first slice.
52) The resulting slice will be as shown in fig 4.2
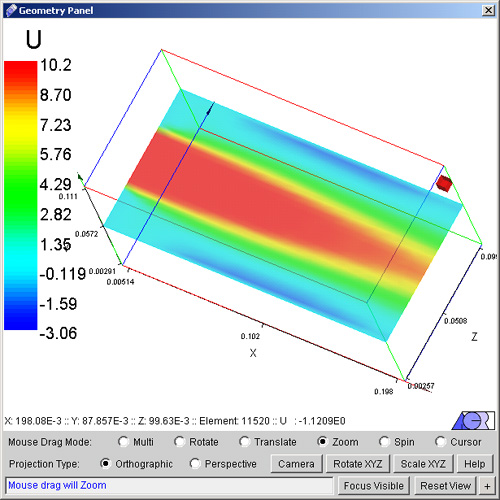
Fig - 4.2: Created slice
This concludes the tutorial for flame tube problem for CFDStudio/ANSWER&Trade; v5.5.
1
2
3
4
5
# Back to CFDStudio/ANSWER Tutorials Page
Related Links:
# ANSWER Applications
# ANSWER Examples
# ANSWER Express
# ANSWER Publications
# ANSWER Users
# ANSWER Price List
# Request CFDStudio/ANSWER Demo
# CFDStudio/ANSWER Tutorials
# ANSWER Manual
|